Reclaiming, Wiping, and Re-Homing Donated Computers
In 2024, I was in a meeting with some leaders from my local church, and someone mentioned that they were planning to retire the old computer lab the church formerly used for family history indexing. The hope was that the computers could be donated or gifted to families in need.
I had a quick thought: "Hey! I bet there's a LOT of info on those computers! We should probably wipe the hard drives before giving them to anyone." I had never done anything like that before, but I had heard that old data can stick around even after a system reset, and I wanted to take advantage of the opportunity to learn and help out by making sure any sensitive info got deleted.
So I got to work and found some fun new ways of wiping the hard drives and getting them ready for donation.
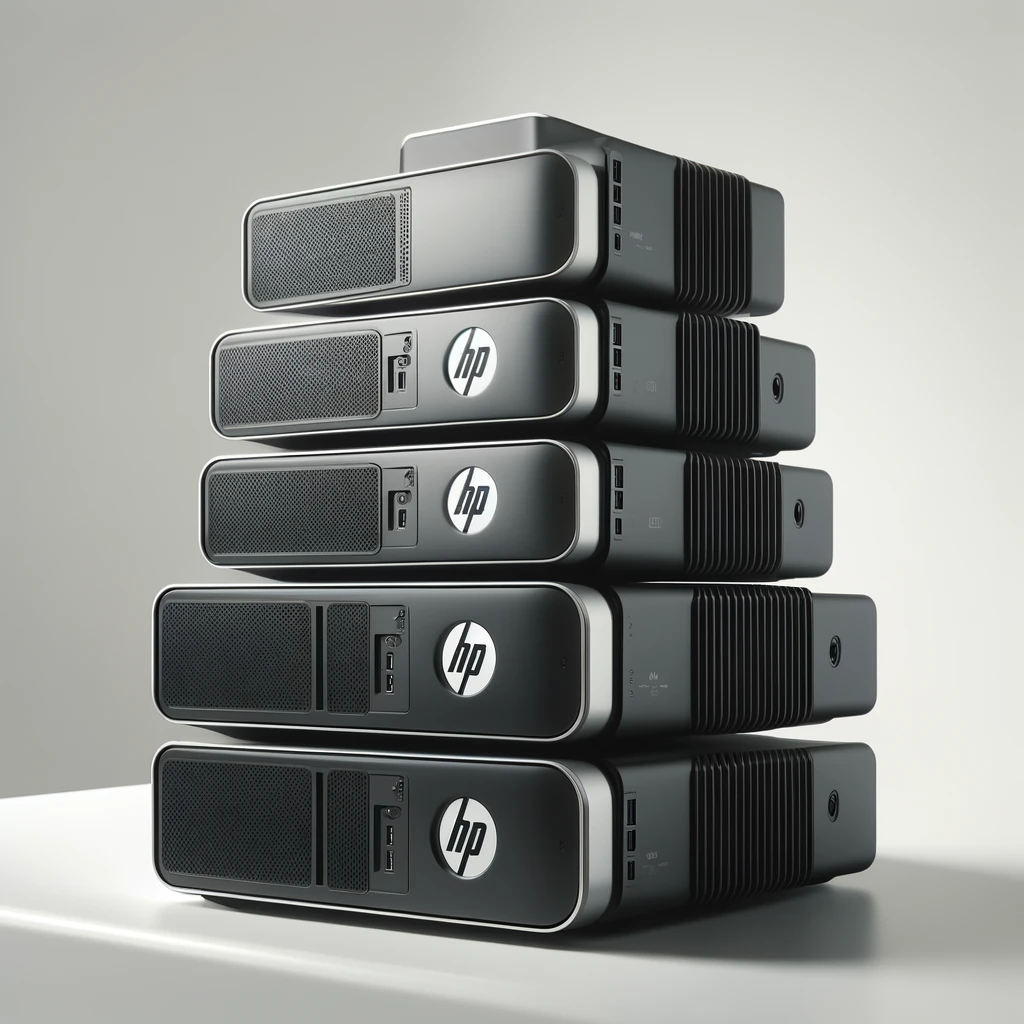
 Yes, this image is AI-generated. But it looks better than the picture I took on my cell phone. 😆
TL;DR
I learned how to access the BIOS menu to disable secure boot. I then booted the computers from an external USB to bypass the computer's security controls and review the file systems and save any files that needed to be preserved. Once that was finished, I booted from a separate USB with DBAN (Darik's Boot and Nuke) to securely wipe the hard drives. Then, I used a third bootable USB to perform a fresh install of Windows 10 on the computers to get them ready for re-homing.
Preserving important files
One of the project requirements starting out was that I needed to save any information on the computers that seemed important. These computers had been used for years by different visitors to the church, and we wanted to make sure they had a way to access the data saved on them. However, nobody remembered the password for the computers, and after some futile attempts to guess the passwords, I decided I would figure out how to bypass the locks on the computers and recover the data.
That search led me to some articles about bootable USBs, which I learned could give me access to the computers without needing to know their passwords. I used a handy tool called Rufus to create the USBs, and it ran quite smoothly. The first significant obstacle I faced was disabling secure boot, which took me a LONG time to figure out, but a fair amount of diligent searching yielded the results I needed. When I did it over a year ago at the time of writing, I booted from a Kali Linux live USB and manually renamed the magnify.exe file, which can be accessed from the accessibility menu on the lock screen (where it's normally used to magnify the screen for easier viewing) to 'cmd.exe', which allowed me to gain access to an elevated command prompt from the lock screen by running the 'magnify' utility. From there, I used my privileges to create an administrative user on the computer and view the files therein.
I have since learned that there are better ways of accomplishing what I did, but it was still an exciting and formative experience. For curious readers, I learned it's possible to bypass the Windows lock screen WITHOUT a USB, which would have been quicker. I also now know that I could have viewed the files on the computers directly from within the live Linux environment running on my bootable USB.
However, I'm still grateful I had the opportunity to do things the way I did, because it sparked some interest in ethical hacking for me and became my first introduction to bootable USBs.
Securely wiping the hard drives
Some quick internet searches told me that DBAN was a viable solution for my use case. DBAN (Darik's Boot and Nuke) is a data erasure tool that works by booting a computer from a live USB and overwriting all the data on the chosen hard drive so the data can't be recovered through digital forensic analysis.
With the old hard drives, which had about 500GB of capacity each, this process took about 16 hours per drive. If I were to do this on a larger scale, I would have removed each of the drives and mounted them to a hub that allowed me to perform the erasure simultaneously on all at once. However, for my small group of computers, it was an acceptable solution that only took about a week at the rate of one computer wipe per night, letting the program run overnight.
Installing Windows 10
The computers, which were still on Windows 8, needed a little upgrade before they would be ready to find new homes. They wouldn't have been good for running Windows 11, so I chose to upgrade them to Windows 10. I did this by installing Windows 10 on a bootable USB and booting the computers from that USB. This process ran quite smoothly, and I was able to get them set up quickly. I made sure to leave them unconfigured and ended the setup as soon as the operating system installation completed so they would be fresh and ready for their new owners to set up accounts and personalize settings to their liking.
The outcome
The computers ended up running quite smoothly after a fresh installation of Windows, and I was super happy with all the things I learned in the process of restoring them. I also found great satisfaction in knowing that these helpful tools can go on to serve other families in need of some basic computing power in their homes. I even ended up performing my first installation of a Linux-based operating system on one of them, turning it into a home file server. Read about how I did that in my other project writeup.